Translate

Showing posts with label APA. Show all posts

Tuesday, December 27, 2016

APA Micro Layout (Part 16) - Detailing the Fiddle Yard (Part 5)

Most of the structures for my second box of the APA Micro Layout came from left-over parts from different kits.

I also wanted to try out another weathering technique using oil paints and turpentine to recreate fading and running colors. An old boxcar shell came in handy for this project.


I also dusted the shell with pigments. On the Ford Coupe for my hobo camp scene, I used one of the IHC body castings that came with a structure kit. I applied some rust patches and sprinkled rust powder into the still wet paint.


Here is a view of the finished scene.


I installed two light sockets from Brawa by drilling two 6mm holes into the baseboard

I like to add small scenes telling a story. Here a Bekins truck is backing to the loading door. A worker is giving hand signs to guide the driver.


The forementioned hobo camp.


Another over-all scene with trucks and cars in place.


I applied some weathering to the shop walls. A clerk is watching the truck's manoeuvres.


The lights are installed and working, while another truck driver prepares to leave.


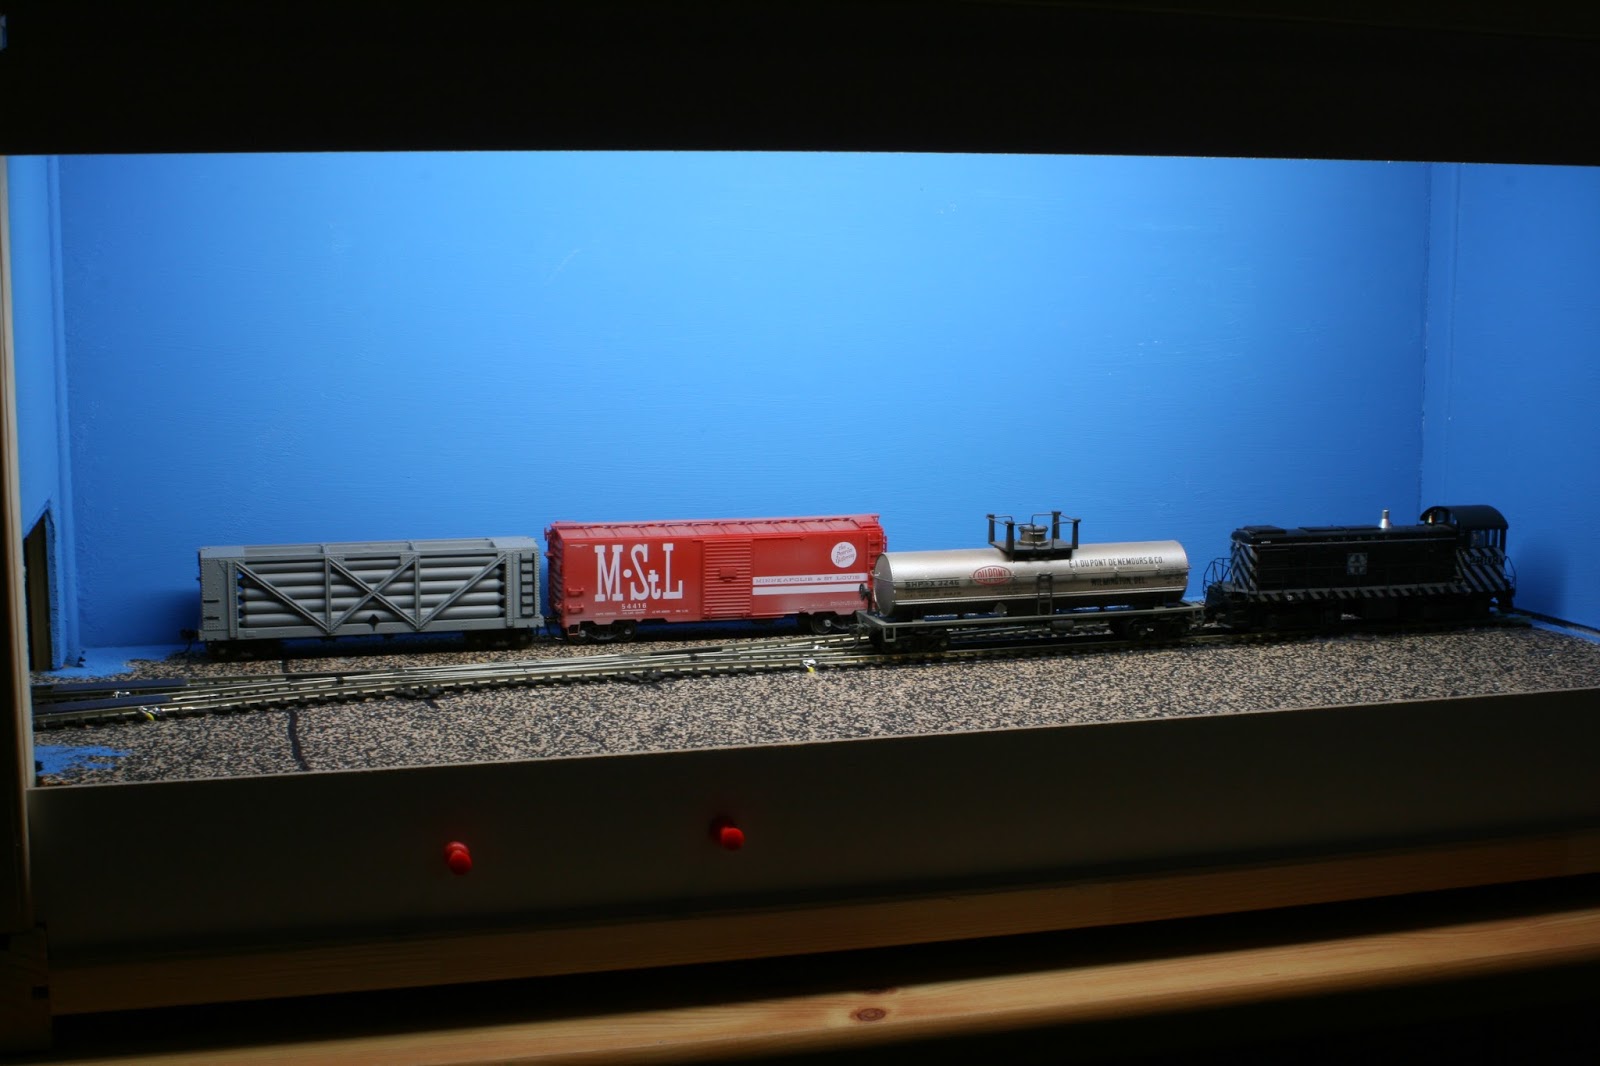
Overall view of the fiddle yard box. Note the effect of the box art backdrop.

Thanks for dropping by. More to come. Stay tuned.


Wednesday, November 23, 2016

APA Micro Layout (Part 15) - Detailing the Fiddle Yard (Part 4) - Trucks

I still had a couple of Athearn truck kits lying around and after close examination I found that they needed a bit of upgrading.


One model was a cabover tractor and trailer lettered for Bekins Moving. The other one was a Freightliner long nose tractor.

All these models come without cab interior and almost snap together.

From my scrap box I used bits of styrene to add a floor and shaped the backs of the seats. I test fitted a Preiser driver figure behind the steering wheel. These plain unpainted figures are cheaper than the painted ones and a box has over 52 different poses.


Then I painted interior medium grey and glued the painted driver figure on the seat.


I touched up the lights on top of the cab and added A-Line side mirrors.


I also painted the side and rear lights on the trailer. A feature that is often forgotten are the license plates. I downloaded a bunch from the internet, scaled them down to HO and printed them out on a sheet of paper. I cut out a pair and attached the plates with a dot of tacky glue.


Another nice touch are the air hoses. I wound a piece of wire around a small dowel to achieve the coiled look.
 

To give the trucks another realistic touch, I bent the front axle and attached the wheels so as if they take a turn.


The long nose tractor received the same treatment, by touching up the lights and adding side mirrors.


As a final touch I added a bar across the rear and attached mud flaps from A-Line.

This is a fairly easy evening upgrading project if you don't have a Herpa truck on hand.

Stay tuned as I continue with the detailing of my APA micro layout.


Tuesday, August 2, 2016

APA Micro Layout (Part 14) - Detailing the Fiddle Yard (Part 3)

Some time ago I had built a gluing jig to assemble the Walthers chain link fence. These plastic poles are OK on a permanent layout out of reach or accidental damage, but on my switching layout they would be too delicate because I need to reach inside the layout to uncouple cars.


A sturdier version of the fence is needed. So I replaced the plastic poles with brass wire. I used the Walthers instructions to construct the fence and instead of gluing the wires to the poles, I soldered them for additional strength.


The photo above shows a close-up view of the fence assembly. Before attaching the mesh I painted the fence silver using a rattle can.


I attached the fine mesh from the kit and glued it to the fence assembly using Alene's tacky glue.


The ice storage box comes from a Classic Miniatures ice truck, mounted on a GC Laser wooden platform.


Tuesday, May 31, 2016

APA Micro Layout (Part 13) - Detailing the Fiddle Yard (Part 2)

For the background I opted again for a mix of half relief structures and box art images from Walthers kit boxes.


I've cut the box art pictures out and placed them against the blue backdrop.


They blend in well with the "real" structures. To hide the seam between backdrop and scenery, I glued a concrete fence between the brick structure and the engine shop. 


The engine shop received a first coat of black wash.


I scribed the styrene sheet to represent expansion joints and painted the whole area with Floquil (Yes, I still have some left) Concrete color. To give the area a weathered look, I also applied a black wash. 


The background building was a leftover from another layout. I covered the middle and lower window openings with brick sheet as well as the entrance.


I applied a couple of decals and gave the structure several coats of black and concrete washes.


 The box art images give an amazing 3-D effect


The structures and basic scenery are installed. Now it's time for the final detailling of the scene.


APA Micro Layout (Part 12) - Detailing the fiddle yard (part 1)

 The rules for the micro layout contest required that the fiddle yard could not be larger than the actual layout. It also didn't have to be scenicked. As I plan to operate it at shows, the bare fiddle yard was no option. So I decided to fit in a couple of structures and to add scenery.


 While I was shuffling around with the components at hand, I quickly realised that the addition of a cassette outside the box would give me additional switching possibilities. So I cut an opening to the rights side wall as well.


 The left side of the box was concealed with another highway bridge which represents the opposite direction of the two-lane overpass


 The right hand exit/entrance would be hidden by a two-stall engine house from Rix Products


The two tracks diverging from the crossing will act as runaround track for the layout. I also may change motive power or rolling stock with this connection.


 The engine house will only have half its length.


 To the edge of the layout, I glued Evergreen styrene sheets to represent a concrete unloading area.


I used one of the spare wall sections and cut a loading door opening. I lined the opning with Evergreen styrene angles to represent the sash.


I test fitted all the components before gluing to see how the finished scene would look like.


A loading ramp from the scrap box would complete the structure.

Stay tuned for the next step in finishing the scene.


Wednesday, February 24, 2016

APA Micro Layout (Part 11) Operation

After three months of building, my Micro Layout for the contest of the german modelrailroad magazine MIBA is finally finished.


The track arrangement is a so-called Inglenook switching puzzle. More details about building and operating this kind of layout may be found on Adian Wymann's The Model Railways Shunting Puzzles Website.


The photo above shows the entire layout in a space of 70 x 30 cm (2'4" x 1')


The fiddle yard has the same dimensions but is not scenicked .... yet. The rules for the contest only mentioned a fiddle yard, the same size as the layout, attached to one side or half the size on each side. The two tracks through the crossing are the drill tracks.


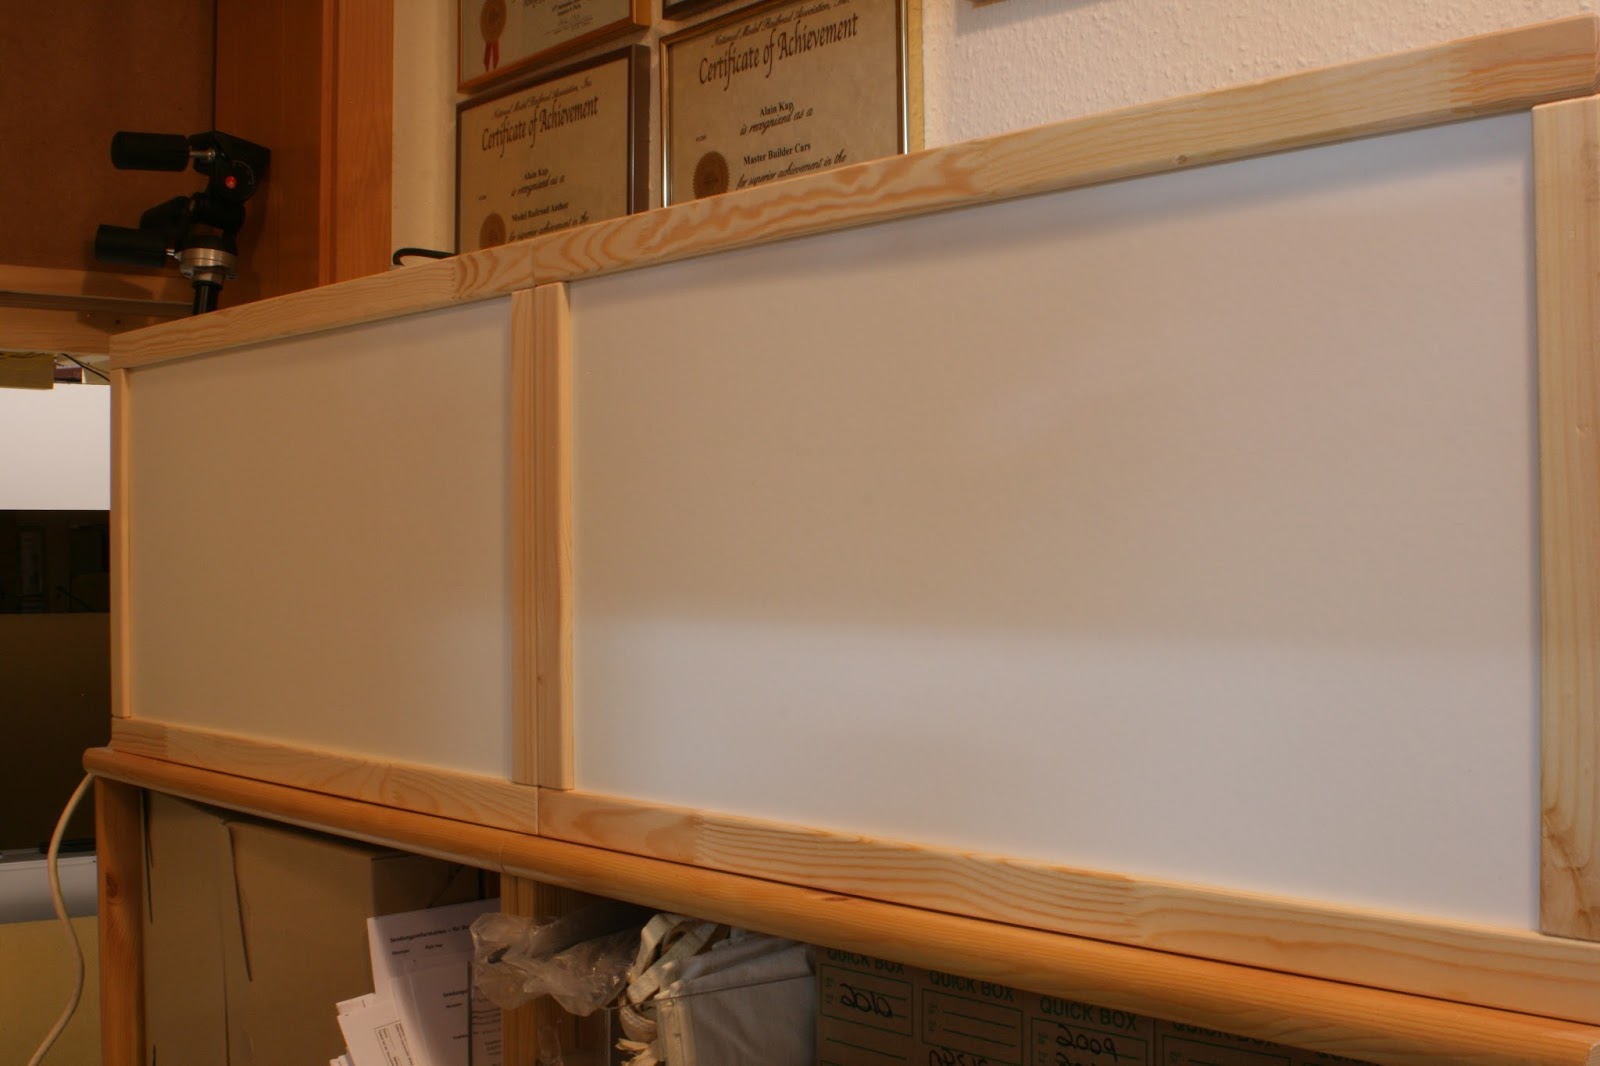
The advantage of the APA boxes is that they are real boxes with a lid. I used the boxes sideways so there is more height for the layout. The box lids serve a double purpose, dust and damage protection.


 The interior of the boxes are lighted with one fluorescent tube each, attached to the valance.


As for operation, I kept it simple. The minimal Inglenook that I have calls for five cars, placed on random spots on the layout. Three cars are to be switched into a departing train. There are random car generators on the internet to select the cars, but this involves a computer next to the layout. I simply added one car for total of six. I also choose cars in different colors. I painted a wooden dice with the same colors than the cars. This is my random selector. On a sheet of paper I only note the order in which the cars are to be placed behind the locomotive.


At the beginning of an operating session, the six cars are placed randomly on the layout. Now I throw the dice. Then I note the color of the first car. Then the second and the third. Now I switch the cars in the order I have thrown the dice. This implies some challenging switching moves, as the remaining cars must be replaced where they stood initially.

The original Inglenook with a 5-3-3 arrangement generates some 40,000+ configurations. My version still 120. That's enough for some relaxing killing time.


APA Micro Layout (Part 10) Weathering and Details

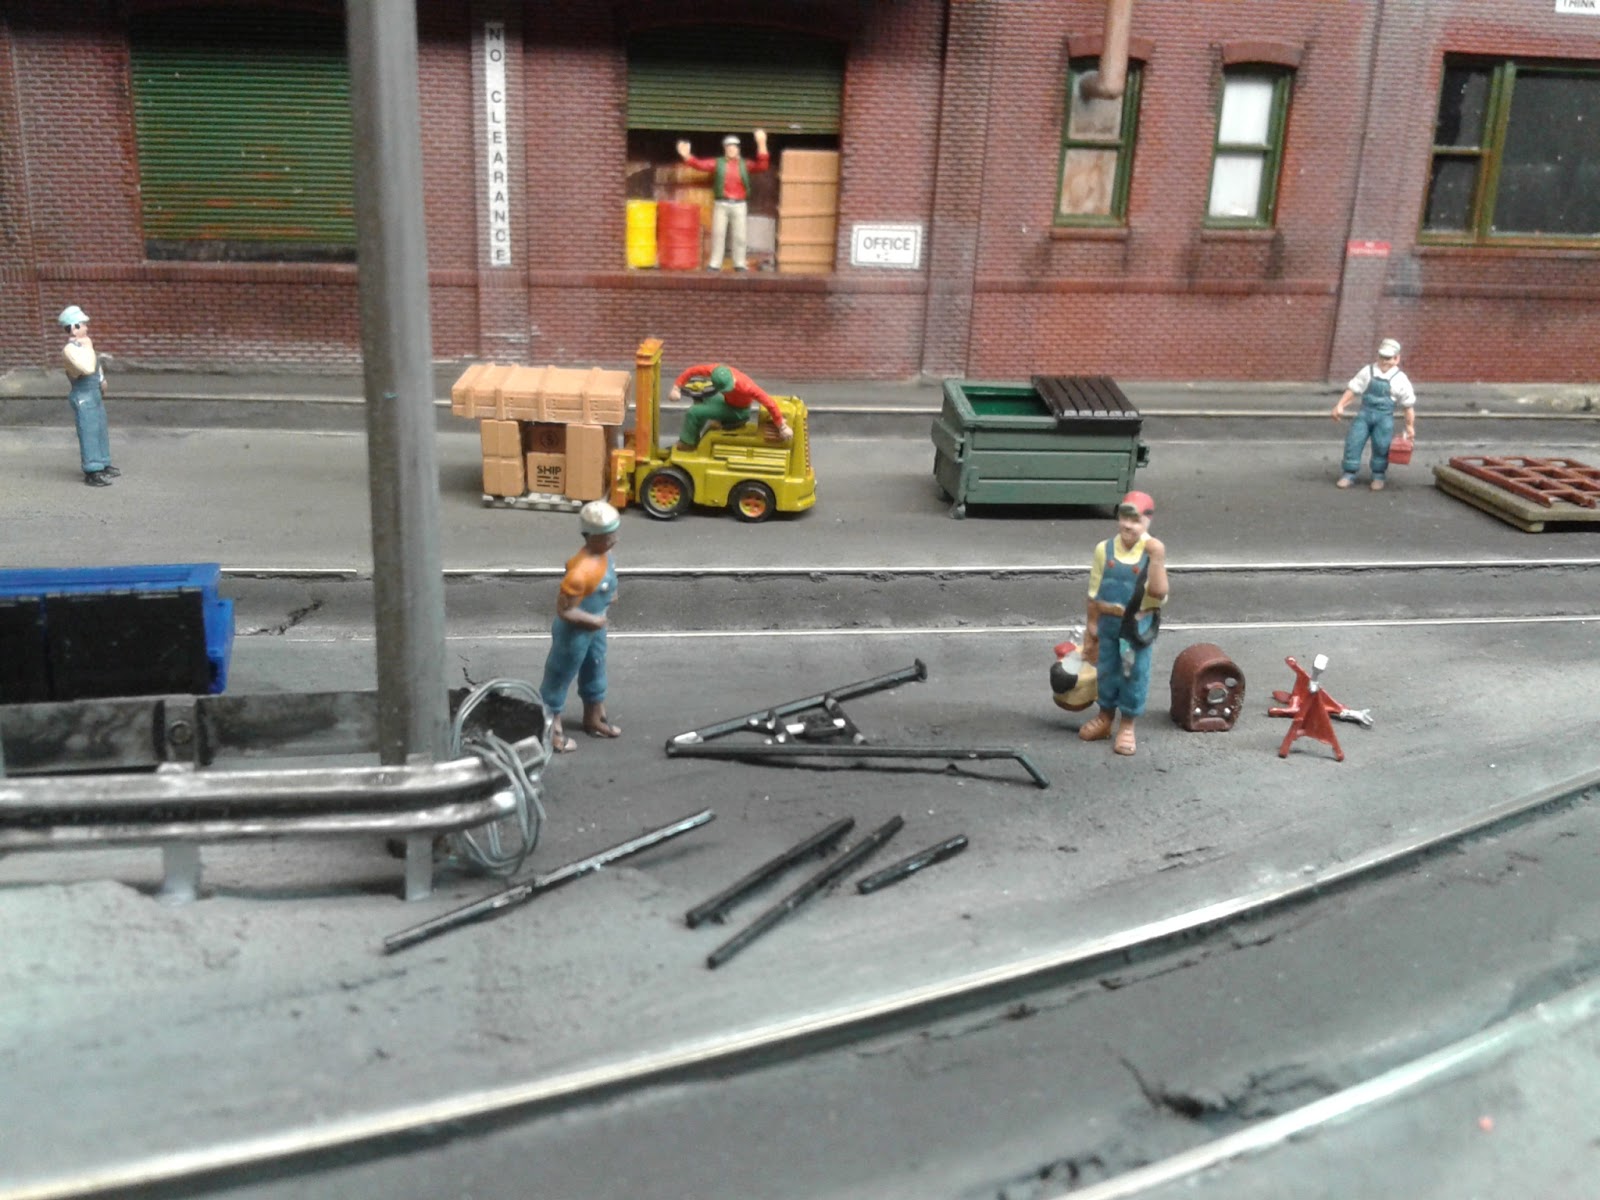
A busy scene like a car repair shop needs lots of details to be convincing.


This is a good way to use some of your surplus bits and pieces from previous projects. In some kits there are always alternative or spare parts. I never throw these away, but keep them in compartment boxes for "later" use. Some will never find their way out of the box. These are normally hatches, doors, plastic wheelsets that have been replaced with metal ones, brake cylinders and wheels, plastic couplers etc. Some decent weathering with rust and grime powders or washes make them suitable to represent the junk and litter sometimes needed alongside the tracks. Here for my repair shop I mainly needed parts that are needed in such a shop. i.e. all kinds of car parts like shown in the picutre above.

Placed on pallets or racks they give a feel of what's happening there.


The paved area outside the car shop was modeled using wall repair compound. After it had dried thoroughly, I painted it with grey asphalt color. Because the plain grey paint is too uniform, I usually use "Dirt" and "Soot" powders, which I apply by dipping a wide brush into the powder and dabbing it on the surface of the road or area to be weathered.


Applying dust and dirt dulls the color down quite a bit. Then I added some black soot powder to simulate grime and oil.


I also installed a small section of track with two additional rails installed to stagger the wheelsets. These are Athearn plastic wheels with metal axles. I always replace these because they get attracted by the uncoupling magnets. Painted a rust color, they get a new life as spare wheels on my workshop scenes. I glued the brake wheels and cylinders to pallets. These are spare parts and should not lie on the bare ground.


Some other details are stacks of lumber for replacing damaged car floors or sidings. Spare trucks and boxes with spare parts complete the scene.


Different figures from Preiser give life to the scene. The trick is to make them do or contemplate about something.


A Hobo is filing through a trash bin for something to eat.


The first cars have arrived on the repair tracks......


...with some more to arrive. This will be a busy day!