After three months of building, my Micro Layout for the contest of the german modelrailroad magazine MIBA is finally finished.
The track arrangement is a so-called Inglenook switching puzzle. More details about building and operating this kind of layout may be found on Adian Wymann's The Model Railways Shunting Puzzles Website.
The photo above shows the entire layout in a space of 70 x 30 cm (2'4" x 1')
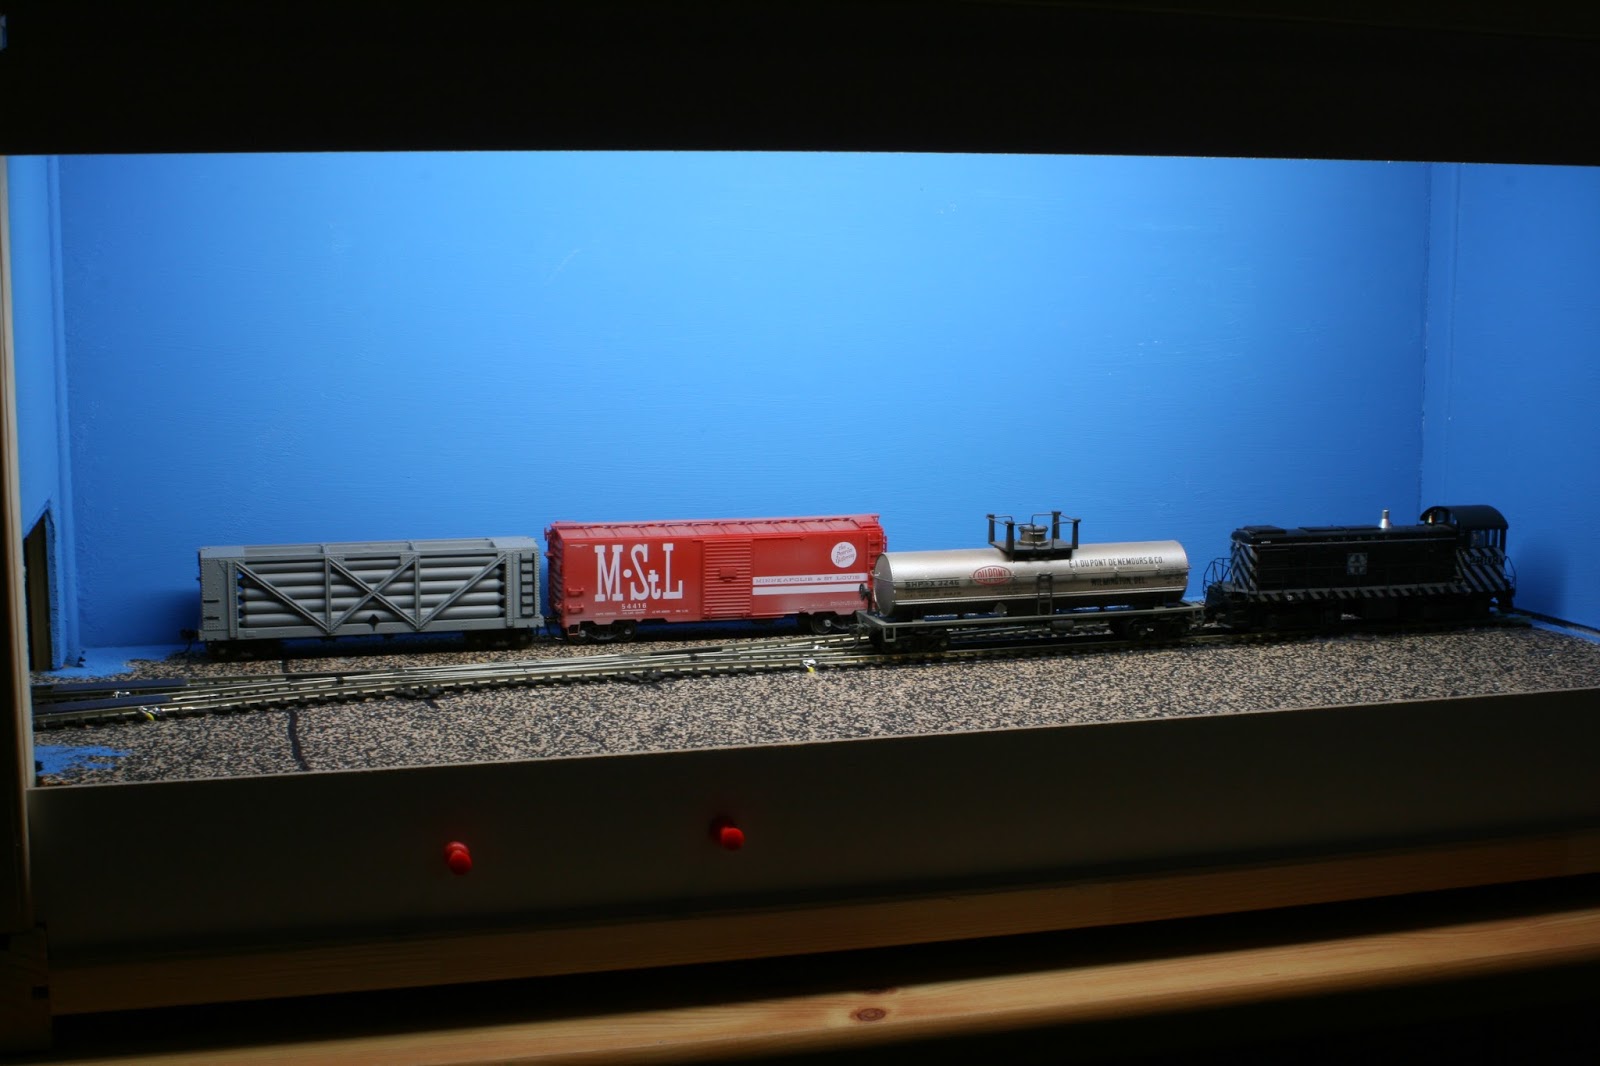
The fiddle yard has the same dimensions but is not scenicked .... yet. The rules for the contest only mentioned a fiddle yard, the same size as the layout, attached to one side or half the size on each side. The two tracks through the crossing are the drill tracks.
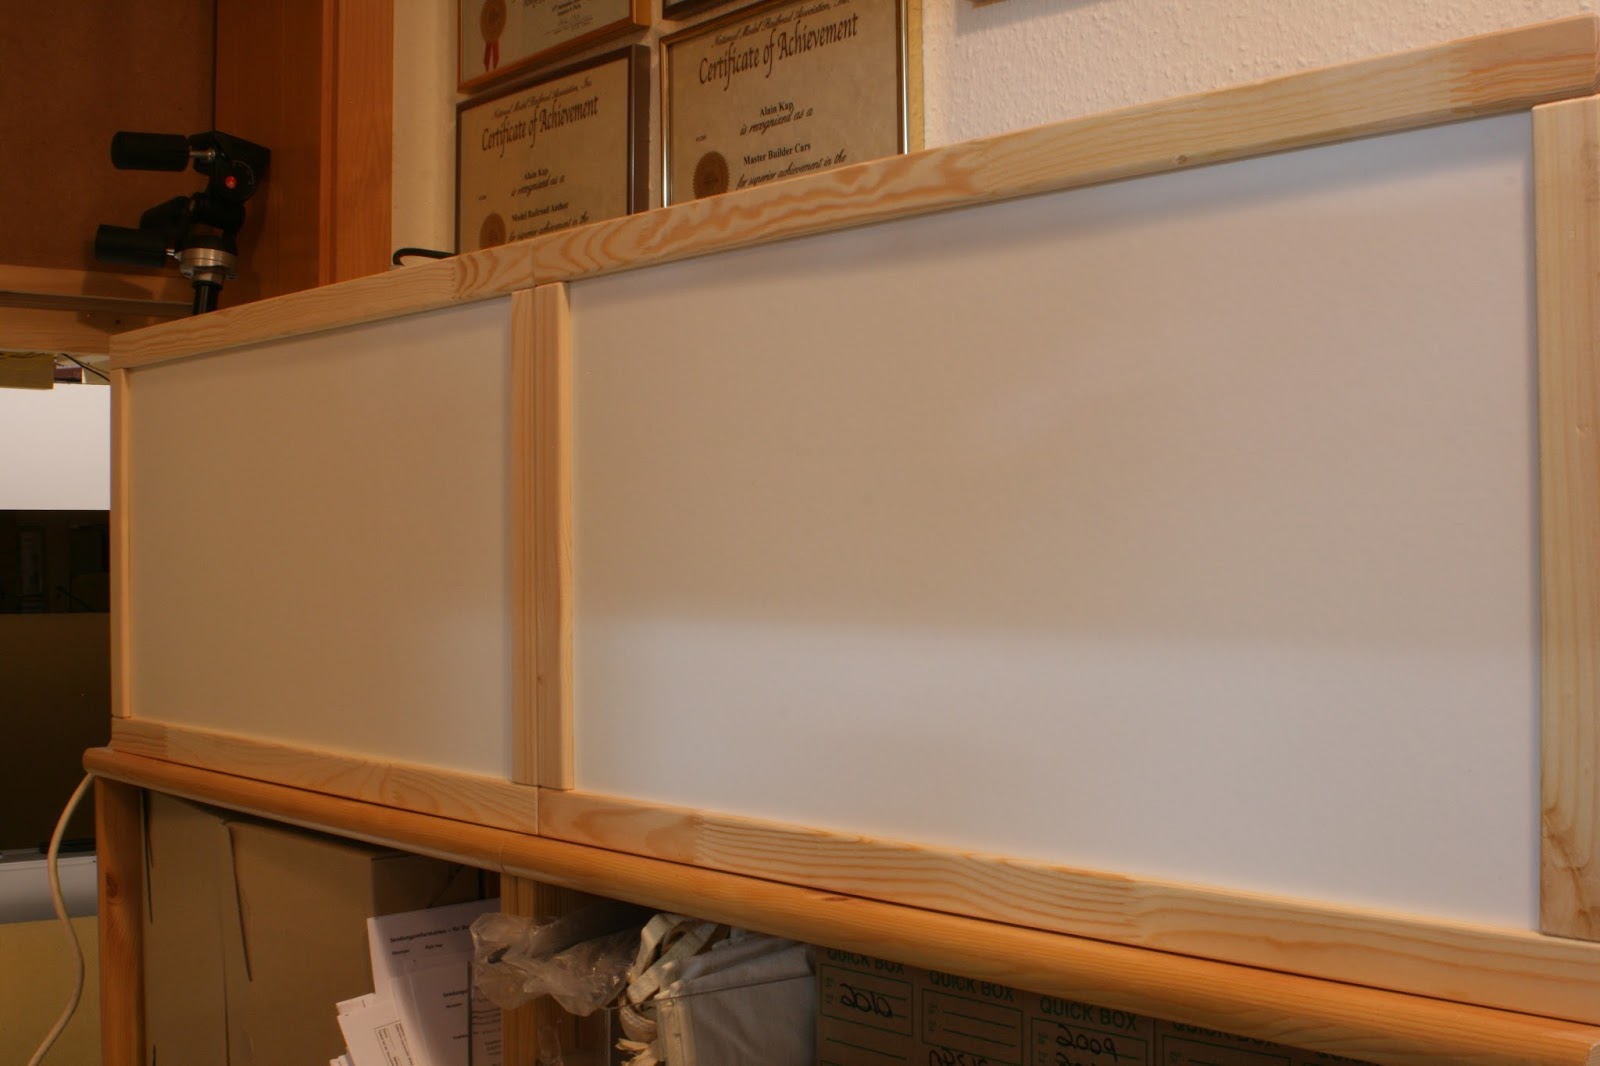
The advantage of the APA boxes is that they are real boxes with a lid. I used the boxes sideways so there is more height for the layout. The box lids serve a double purpose, dust and damage protection.
The interior of the boxes are lighted with one fluorescent tube each, attached to the valance.
As for operation, I kept it simple. The minimal Inglenook that I have calls for five cars, placed on random spots on the layout. Three cars are to be switched into a departing train. There are random car generators on the internet to select the cars, but this involves a computer next to the layout. I simply added one car for total of six. I also choose cars in different colors. I painted a wooden dice with the same colors than the cars. This is my random selector. On a sheet of paper I only note the order in which the cars are to be placed behind the locomotive.
At the beginning of an operating session, the six cars are placed randomly on the layout. Now I throw the dice. Then I note the color of the first car. Then the second and the third. Now I switch the cars in the order I have thrown the dice. This implies some challenging switching moves, as the remaining cars must be replaced where they stood initially.
The original Inglenook with a 5-3-3 arrangement generates some 40,000+ configurations. My version still 120. That's enough for some relaxing killing time.
On this blog I want to share my other modeling escapes not directly related to my home layout. It encompasses everything from 1/87 (HO) over 1/72 to 1/35. Another passion is military modeling in 1/72 and 1/35 with an emphasis on dioramas. Also Tips and Tricks that I found and learned along the way, are shown on this page. Enjoy because Modeling is Fun.
Translate
Showing posts with label IKEA. Show all posts
Wednesday, February 24, 2016
APA Micro Layout (Part 10) Weathering and Details
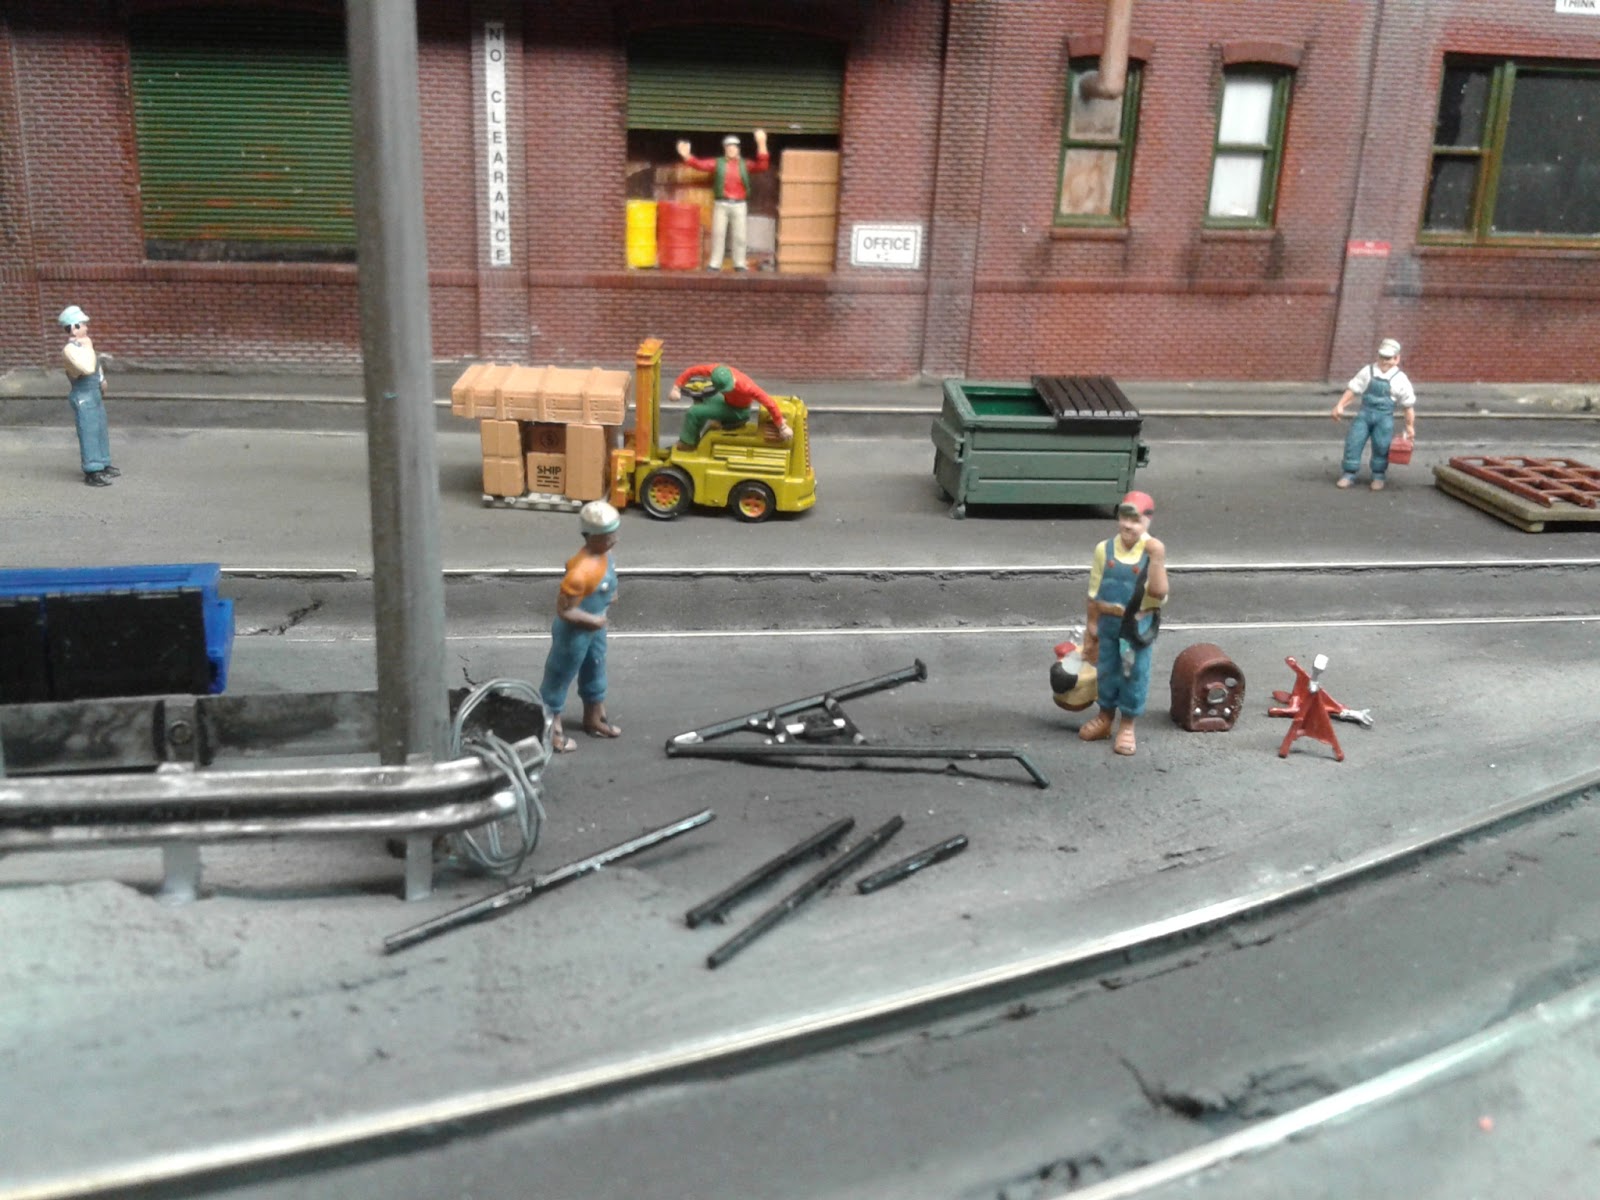
A busy scene like a car repair shop needs lots of details to be convincing.
The paved area outside the car shop was modeled using wall repair compound. After it had dried thoroughly, I painted it with grey asphalt color. Because the plain grey paint is too uniform, I usually use "Dirt" and "Soot" powders, which I apply by dipping a wide brush into the powder and dabbing it on the surface of the road or area to be weathered.
Applying dust and dirt dulls the color down quite a bit. Then I added some black soot powder to simulate grime and oil.
I also installed a small section of track with two additional rails installed to stagger the wheelsets. These are Athearn plastic wheels with metal axles. I always replace these because they get attracted by the uncoupling magnets. Painted a rust color, they get a new life as spare wheels on my workshop scenes. I glued the brake wheels and cylinders to pallets. These are spare parts and should not lie on the bare ground.
Some other details are stacks of lumber for replacing damaged car floors or sidings. Spare trucks and boxes with spare parts complete the scene.
Different figures from Preiser give life to the scene. The trick is to make them do or contemplate about something.
A Hobo is filing through a trash bin for something to eat.
The first cars have arrived on the repair tracks......
...with some more to arrive. This will be a busy day!
This is a good way to use some of your surplus bits and pieces from previous projects. In some kits there are always alternative or spare parts. I never throw these away, but keep them in compartment boxes for "later" use. Some will never find their way out of the box. These are normally hatches, doors, plastic wheelsets that have been replaced with metal ones, brake cylinders and wheels, plastic couplers etc. Some decent weathering with rust and grime powders or washes make them suitable to represent the junk and litter sometimes needed alongside the tracks. Here for my repair shop I mainly needed parts that are needed in such a shop. i.e. all kinds of car parts like shown in the picutre above.
Placed on pallets or racks they give a feel of what's happening there.
The paved area outside the car shop was modeled using wall repair compound. After it had dried thoroughly, I painted it with grey asphalt color. Because the plain grey paint is too uniform, I usually use "Dirt" and "Soot" powders, which I apply by dipping a wide brush into the powder and dabbing it on the surface of the road or area to be weathered.
Applying dust and dirt dulls the color down quite a bit. Then I added some black soot powder to simulate grime and oil.
I also installed a small section of track with two additional rails installed to stagger the wheelsets. These are Athearn plastic wheels with metal axles. I always replace these because they get attracted by the uncoupling magnets. Painted a rust color, they get a new life as spare wheels on my workshop scenes. I glued the brake wheels and cylinders to pallets. These are spare parts and should not lie on the bare ground.
Some other details are stacks of lumber for replacing damaged car floors or sidings. Spare trucks and boxes with spare parts complete the scene.
Different figures from Preiser give life to the scene. The trick is to make them do or contemplate about something.
A Hobo is filing through a trash bin for something to eat.
The first cars have arrived on the repair tracks......
Tuesday, October 13, 2015
APA-rama Project. The APA-lachia Box
For my second APA box I wanted to try some mountain scenery. A simple cut or tunnel seemed too easy and boring to look at. I searched the internet for photos about trains in the mountains and found several showing a snow shed or avalanche shed. These structures protected the railroad tracks from downslides of snow and ice. Back in time they were build from wood, today they are mostly concrete.
For this box I did not have to take care of a curved backdrop. I filled the rear of the box with pieces of extruded foam.
But first things first.
From the photos found on the internet and a article in Model Railroader Magazine I adapted the size and measurements to our HOn3 needs.
I figured out that I would need at least 22 bents for my snowshed. To make sure all were identical, I built a jig, the same time I assembled the first bent.
Above is the finished jig after the first bent had been removed. I noted the different length for the scale lumber that I needed.
I cut the strip wood to size using my NWSL chopper and stained them in a mixture of 70% IPA (Isopropyl Alcohol) and a few drops of black India ink. I let the lumber dry overnight.Then I labelled a compartment box with the different sizes and filled the lumber parts in. This made it very easy to find the right piece during the assembly stage.

I did the final sanding and trimming before assembling the different pieces to make sure that everything fitted tight. I also used some reversed clothes pins to hold the pieces in the jig until the glue had dried. To the right is a finished bent.
I test fitted the snowshed to mark the location of the footings.
I glued the footings to the baseboard. Then I covered the styrofoam with layers of plaster gauze to give a first shape to the rock face.
In the next step I ballasted the track and the surrounding areas including the footings
From rubber molds I cast different rocks and attached them to the plaster gauze base before they set completely. After a couple of minutes I removed the rubber molds.
After the molds had dried for a couple of days, I filled the cracks between the different castings with wet plaster.
I carved out the footings, were the snowshed would touch the hillside.
The rock faces start to look realistic.


The black wash really brought out the cracks and crevices.
Still some work to do until you'll see it at the US-Convention in Rodgau/Germany on October 24/25, 2015. See you there!
Labels:
APA,
APA Project,
DRGW,
HOn3,
IKEA,
Jigs,
RGS,
scratch building
APA-rama Project. The APA-looza Box
Two years ago, a bunch of modelers decided to attend the bi-annual US-Convention in Rodgau/Germany with an HOn3 layout, composed of some kind of shadow boxes with each having a different scene. The modelers should build a scene of their liking without having a direct relationship to the other scenes. The initiator of this idea, Alexander Lösch (www.frankenmodell.de) suggested that the scenes should fit into a box, manufactured by IKEA, for kids to to store their toys away. This little box (L70 x W36 x H29 cm) called APA, should frame the scene. The box is put up on the side, so we have a depth of 29 cm. How the box is modified for our purpose is described on Alex' homepage (APA-Box construction)
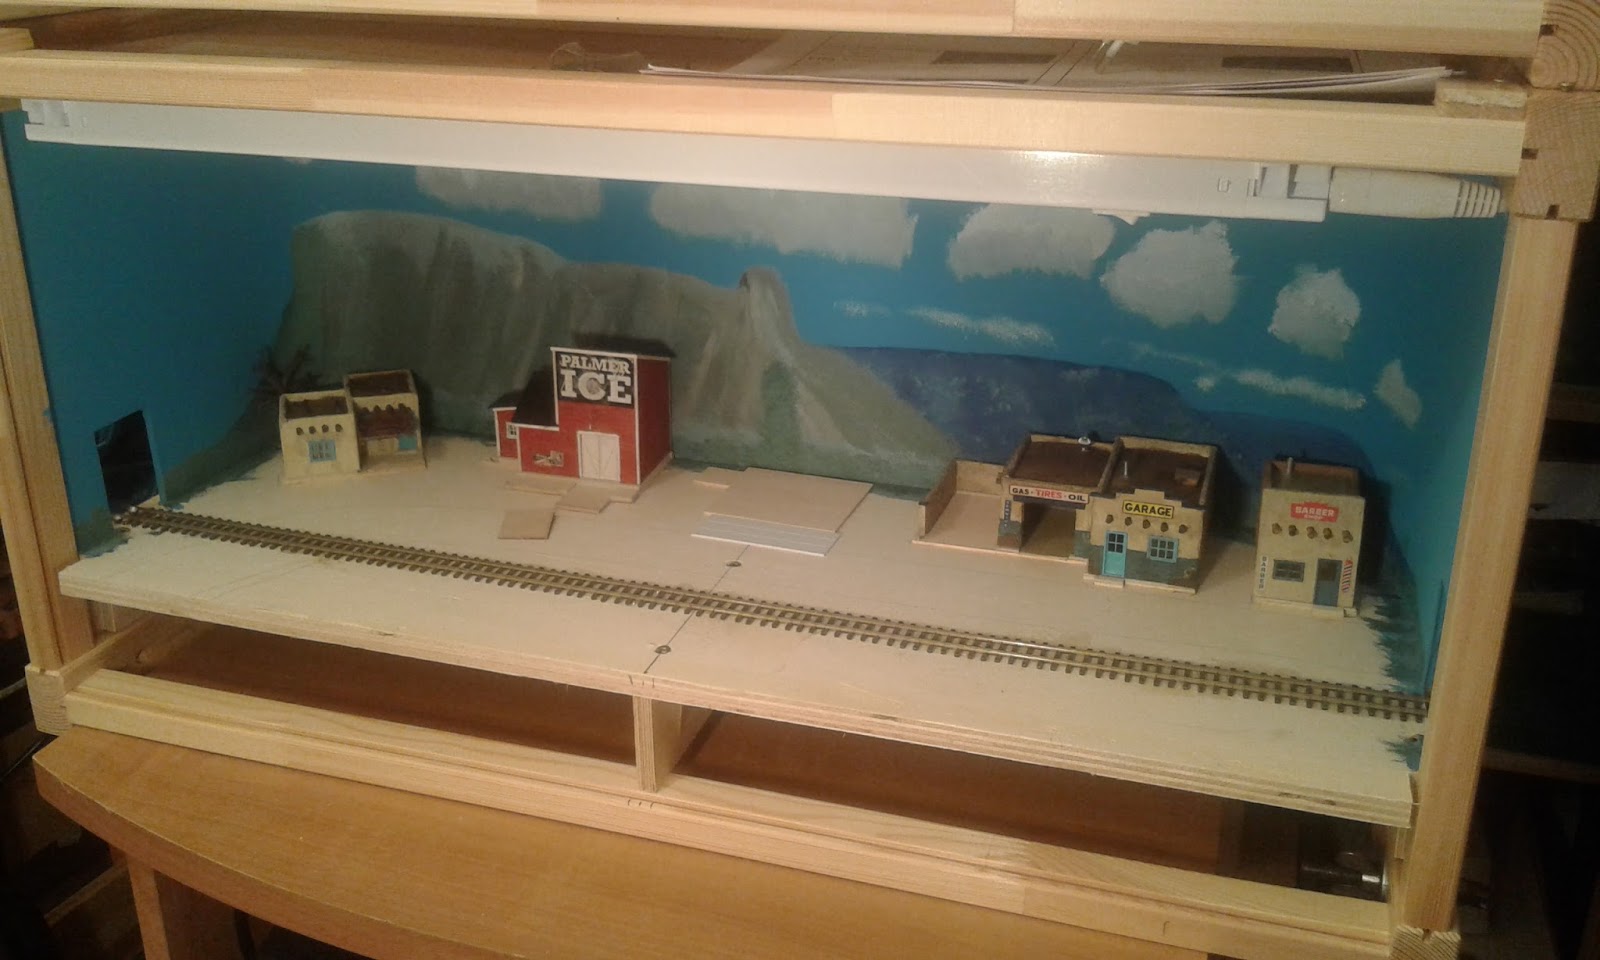
Above you see my partly finished southwestern scene, called APA-looza. We tried to include the word "APA" in the naming of our boxes.

An obvious drawback with boxes is their squared appearance. I've cut a large sheet of styrene to fit into the box and curved it around the two rear corners. Then I tried my first hand on painting the backdrop. It should show some "mesas" in the distance to suit my adobe buildings and to give a southwestern atmosphere. In the picture above, I fiddled around with some of my finished models to see where they would fit best. I drew the outlines of the buildings on the base and added a foundation made from strip wood. This made the application of ground and scenery material easier.
Every box has its own light fixture, with a switch to turn it on or off. The power cord exits behind the backdrop. The roadbed is lifted 10 cm to leave enough space underneath for the feeder wires and track power. I need to attach the lid to the box with two hinges. It folds down for protection between show hours and for storing it at home or during transport.
For the trees I used sea weed and pieces of tree roots. The tree roots yield many nice looking, unique shaped tree armatures.


The adobe structures are all scratchbuilt with basswood and tile grout applied for the stucco finish. The Ice House is a lasercut kit from Fos Scale Models.
The following pictures show the almost finished scene. Power and Telegraph lines are missing, as well as some more small trees.
See this scene and another 12 in Rodgau on October 24/25, 2015
Subscribe to:
Posts (Atom)