For my second APA box I wanted to try some mountain scenery. A simple cut or tunnel seemed too easy and boring to look at. I searched the internet for photos about trains in the mountains and found several showing a snow shed or avalanche shed. These structures protected the railroad tracks from downslides of snow and ice. Back in time they were build from wood, today they are mostly concrete.
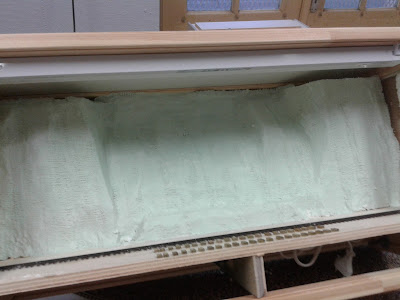
For this box I did not have to take care of a curved backdrop. I filled the rear of the box with pieces of extruded foam.
But first things first.
From the photos found on the internet and a article in Model Railroader Magazine I adapted the size and measurements to our HOn3 needs.
I figured out that I would need at least 22 bents for my snowshed. To make sure all were identical, I built a jig, the same time I assembled the first bent.
Above is the finished jig after the first bent had been removed. I noted the different length for the scale lumber that I needed.
 I cut the strip wood to size using my NWSL chopper and stained them in a mixture of 70% IPA (Isopropyl Alcohol) and a few drops of black India ink. I let the lumber dry overnight.
Then I labelled a compartment box with the different sizes and filled the lumber parts in. This made it very easy to find the right piece during the assembly stage.

I did the final sanding and trimming before assembling the different pieces to make sure that everything fitted tight. I also used some reversed clothes pins to hold the pieces in the jig until the glue had dried. To the right is a finished bent.
I test fitted the snowshed to mark the location of the footings.
I glued the footings to the baseboard. Then I covered the styrofoam with layers of plaster gauze to give a first shape to the rock face.
In the next step I ballasted the track and the surrounding areas including the footings
From rubber molds I cast different rocks and attached them to the plaster gauze base before they set completely. After a couple of minutes I removed the rubber molds.
After the molds had dried for a couple of days, I filled the cracks between the different castings with wet plaster.
I carved out the footings, were the snowshed would touch the hillside.
The rock faces start to look realistic.


The black wash really brought out the cracks and crevices.
Still some work to do until you'll see it at the US-Convention in Rodgau/Germany on October 24/25, 2015. See you there!


No comments:
Post a Comment