Translate

Tuesday, October 13, 2015

APA-rama Project. The APA-lachia Box


For my second APA box I wanted to try some mountain scenery. A simple cut or tunnel seemed too easy and boring to look at. I searched the internet for photos about trains in the mountains and found several showing a snow shed or avalanche shed. These structures protected the railroad tracks from downslides of snow and ice. Back in time they were build from wood, today they are mostly concrete.


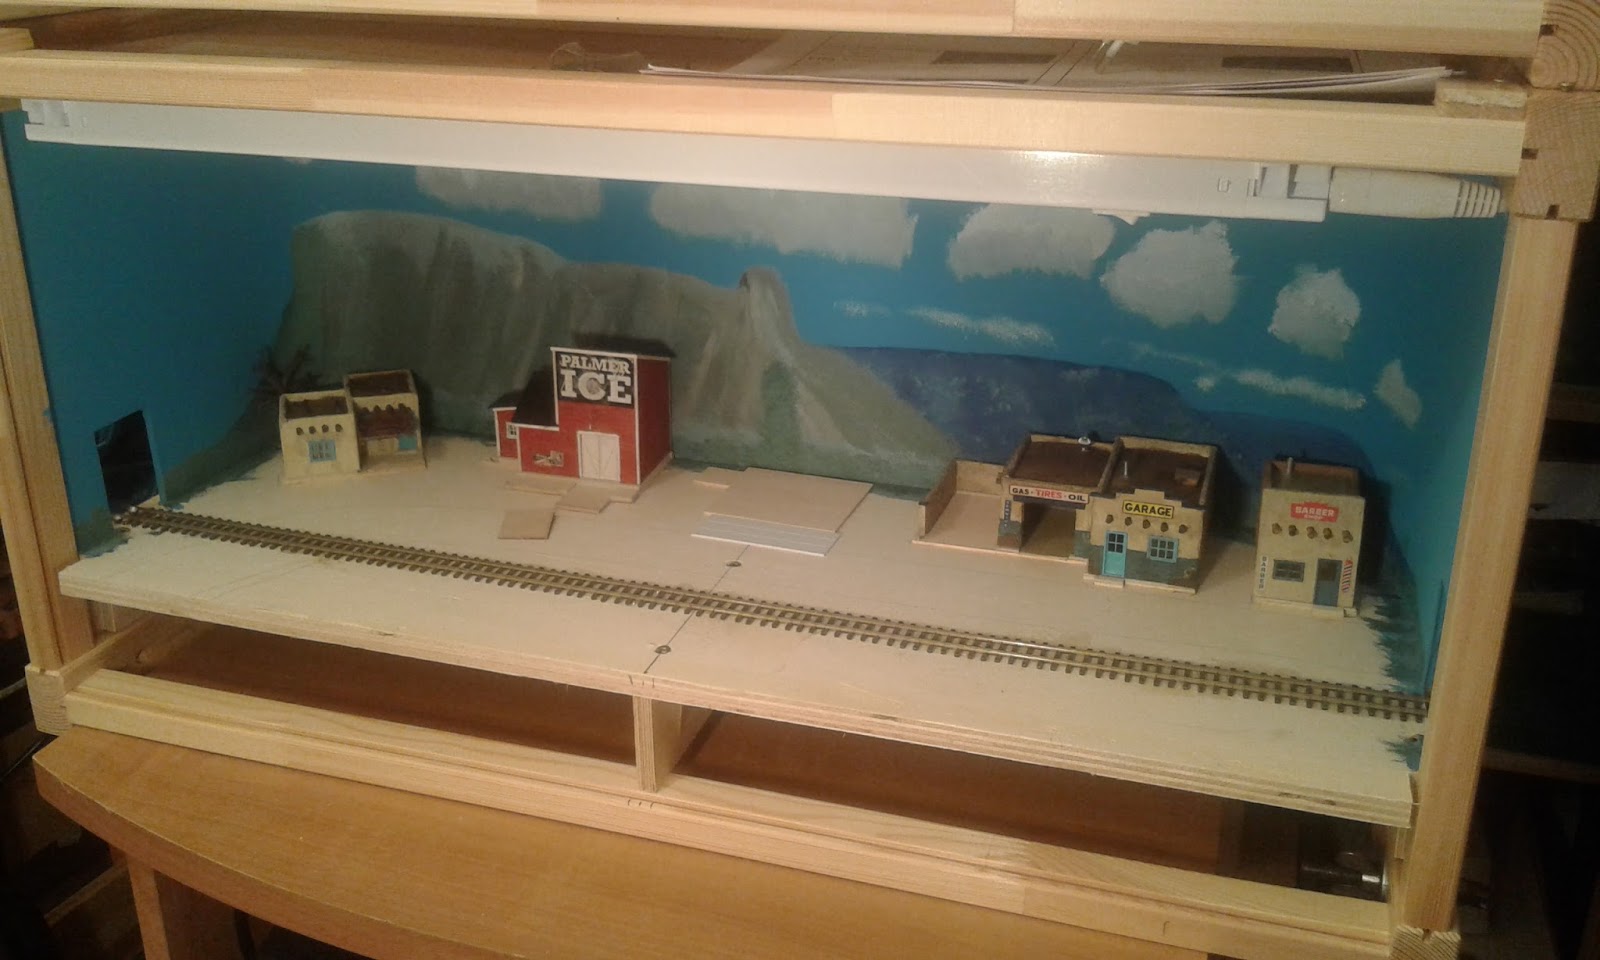
For this box I did not have to take care of a curved backdrop. I filled the rear of the box with pieces of extruded foam.

But first things first.

From the photos found on the internet and a article in Model Railroader Magazine I adapted the size and measurements to our HOn3 needs.


I figured out that I would need at least 22 bents for my snowshed. To make sure all were identical, I built a jig, the same time I assembled the first bent.

 Above is the finished jig after the first bent had been removed. I noted the different length for the scale lumber that I needed.

I cut the strip wood to size using my NWSL chopper and stained them in a mixture of 70% IPA (Isopropyl Alcohol) and a few drops of black India ink. I let the lumber dry overnight.


Then I labelled a compartment box with the different sizes and filled the lumber parts in. This made it very easy to find the right piece during the assembly stage.


I did the final sanding and trimming before assembling the different pieces to make sure that everything fitted tight. I also used some reversed clothes pins to hold the pieces in the jig until the glue had dried. To the right is a finished bent.


I test fitted the snowshed to mark the location of the footings.


I glued the footings to the baseboard. Then I covered the styrofoam with layers of plaster gauze to give a first shape to the rock face.


In the next step I ballasted the track and the surrounding areas including the footings


From rubber molds I cast different rocks and attached them to the plaster gauze base before they set completely. After a couple of minutes I removed the rubber molds. 


After the molds had dried for a couple of days, I filled the cracks between the different castings with wet plaster.


I carved out the footings, were the snowshed would touch the hillside.


The rock faces start to look realistic.


After the plaster had dried again for a couple of days, I started to apply different washes. Ocre, burnt umber and black.


The black wash really brought out the cracks and crevices.

Still some work to do until you'll see it at the US-Convention in Rodgau/Germany on October 24/25, 2015. See you there!

APA-rama Project. The APA-looza Box


Two years ago, a bunch of modelers decided to attend the bi-annual US-Convention in Rodgau/Germany with an HOn3 layout, composed of some kind of shadow boxes with each having a different scene. The modelers should build a scene of their liking without having a direct relationship to the other scenes. The initiator of this idea, Alexander Lösch (www.frankenmodell.de) suggested that the scenes should fit into a box, manufactured by IKEA, for kids to to store their toys away. This little box (L70 x W36 x H29 cm) called APA, should frame the scene. The box is put up on the side, so we have a depth of 29 cm. How the box is modified for our purpose is described on Alex' homepage (APA-Box construction)


Above you see my partly finished southwestern scene, called APA-looza. We tried to include the word "APA" in the naming of our boxes.


An obvious drawback with boxes is their squared appearance. I've cut a large sheet of styrene to fit into the box and curved it around the two rear corners. Then I tried my first hand on painting the backdrop. It should show some "mesas" in the distance to suit my adobe buildings and to give a southwestern atmosphere. In the picture above, I fiddled around with some of my finished models to see where they would fit best. I drew the outlines of the buildings on the base and added a foundation made from strip wood. This made the application of ground and scenery material easier.


Every box has its own light fixture, with a switch to turn it on or off. The power cord exits behind the backdrop. The roadbed is lifted 10 cm to leave enough space underneath for the feeder wires and track power. I need to attach the lid to the box with two hinges. It folds down for protection between show hours and for storing it at home or during transport.


For the trees I used sea weed and pieces of tree roots. The tree roots yield many nice looking, unique shaped tree armatures.


I sprayed the tree armatures with a coat of strong hairspray and sprinkled them with green flock. The medium green flock suggests that we're in Spring.


The adobe structures are all scratchbuilt with basswood and tile grout applied for the stucco finish. The Ice House is a lasercut kit from Fos Scale Models.

The following pictures show the almost finished scene. Power and Telegraph lines are missing, as well as some more small trees. 


See this scene and another 12 in Rodgau on October 24/25, 2015


Monday, April 20, 2015

Clothes Pins into modelers clamps

Here's a short tutorial on how to turn an ordinary wooden clothes pin into a handy flat clamp.


Although this ordinary type of clamp may be used in many situations to hold two parts together, we sometimes need a clamp for a larger, even surface, like when glueing two pieces of styrene sheet together.


First we disassemble the pin. It consists of two shaped wooden parts and one metal spring.


Then we open the spring and insert one wooden part upside down into the spring and slide the second part also reversed under the spring, like seen in the photograph. This is the most difficult part of the assembly because you might brake off one of your finger nails :(


The finished result looks like this. This type of clamp is not opening as wide as the original clothes pin but for holding flat surfaces together it works just fine.


The picture above shows one of its many uses when assembling two or three layered structure parts like billboards or laminated wall sections.

Have fun with my little conversion project. Take care of your fingernails and remember that these clamps will not hold wet clothes on the line for drying anymore. :)

Saturday, February 28, 2015

LVT-4 (Landing Vehicle Tracked) heading for Okinawa


I got inspired by a black and white picture showing an LVT (Landing Vehicle, Tracked) with Marines sitting on the edge of the loading bay of their landing vehicle, heading towards the beaches of Okinawa in 1945.


This is the reference picture for my diorama. USS Tennessee in the background is firing in preparation of the attack.


All kinds of landing craft and tracked vehicles formed an assault wave.


I had this old Airfix kit lying around for some time, waiting to get build. Many dioramas I've seen show landing craft and tanks already on the beach but rarely in the water. It always amazed me how these steel monsters could actually swim in water. So I decided to represent it halfway submerged like on the photograph.

I'll describe in the following tutorial how easy it is to build this small diorama.

The only hardware we need are:

- Some spare pieces of extruded foam
- Blue and white acrylic paints
- Transparent Silicon sealand (the kind you use to seal the shower in your bath)
- Balsa wood 
- plastic spoon
- and of cours the model you want to use


I cut two extruded foam rectangles and outlined the footprint of the LVT on one. Then I cut the recess out and glued the two pieces together with liquid nails. After drying I painted the upper surface with sky blue acrylic paint.


Then I lined the foam with four strips cut from a sheet of balsa wood.


Then I masked the frame with masking tape and painted a lighter shade of blue to where the waves and trailing foam behind the landing craft would be.


For the water surface I squeezed a couple of silicon beads to the surface and smoothed it with the plastic spoon. I dabbed the surface to recreate the small waves.


After the spoon treatment the surface looks like this.


After the initial coat has dried I applied thicker beads around the recess where the water bulges as the vehicles moves forward.


When the silicon had dried over night I placed the LVT with a couple of sitting tank riders in the recess to check how it looked.


Then came the point of no return. Permanently embedding the LVT into the scenery with more sealant added against the model


Now I added Woodland Scenics Water Effects to the rear and on the tracks


It took almost two days for the Water Effects to dry completely transparent. I highlighted the tops of the waves by drybrushing with white acrylic paint.


I removed the masking tape and painted the frame of the diorama with black acrylic paint.


As mentioned above, I used American Tank Riders from HäT, because no other sets contain sitting soldiers at ease and not pointing or shooting at something. On many photographs the Marines only had camouflaged helmet covers and their green fatigues instead of camouflaged. So I also painted only the helmet covers camouflaged. I used Woodland Scenics Accent Glue to attach the figures to the LVT.


The finished scene looks like this.


Some more shots from all sides


I assume that this LVT belongs to a later wave, after the beachhead was already secured. I never saw Jeeps arriving in the first assault wave. This explains also the Marines sitting on the edges instead of ducking in the bay of the landing craft.