
Shortly after the Sedan Show, I headed to my local lumber yard and bought me the required plywood sheets for my new extension of the layout. The days after the show I already made plans how the extension would look like. With measurements on hand, I ordered the sheets cut up, so that I only had to assemble the different segments.

The layout consists of two 90cm (approx. 3 feet) segments, so I build the boxes for the yard to match their size. As I adopted the 90 cm length as a standard for my future show layouts, the yard and future oval will always match whatever layout I would use.

The yard will have a total length of three segments. These will not be needed with my actual switching layout, so I concentrated on only two segments. To save space I used a PECO medium radius 3-way turnout on each side of the yard.

This minimal configuration gives me plenty of storage space to turnover my rolling stock during operations.


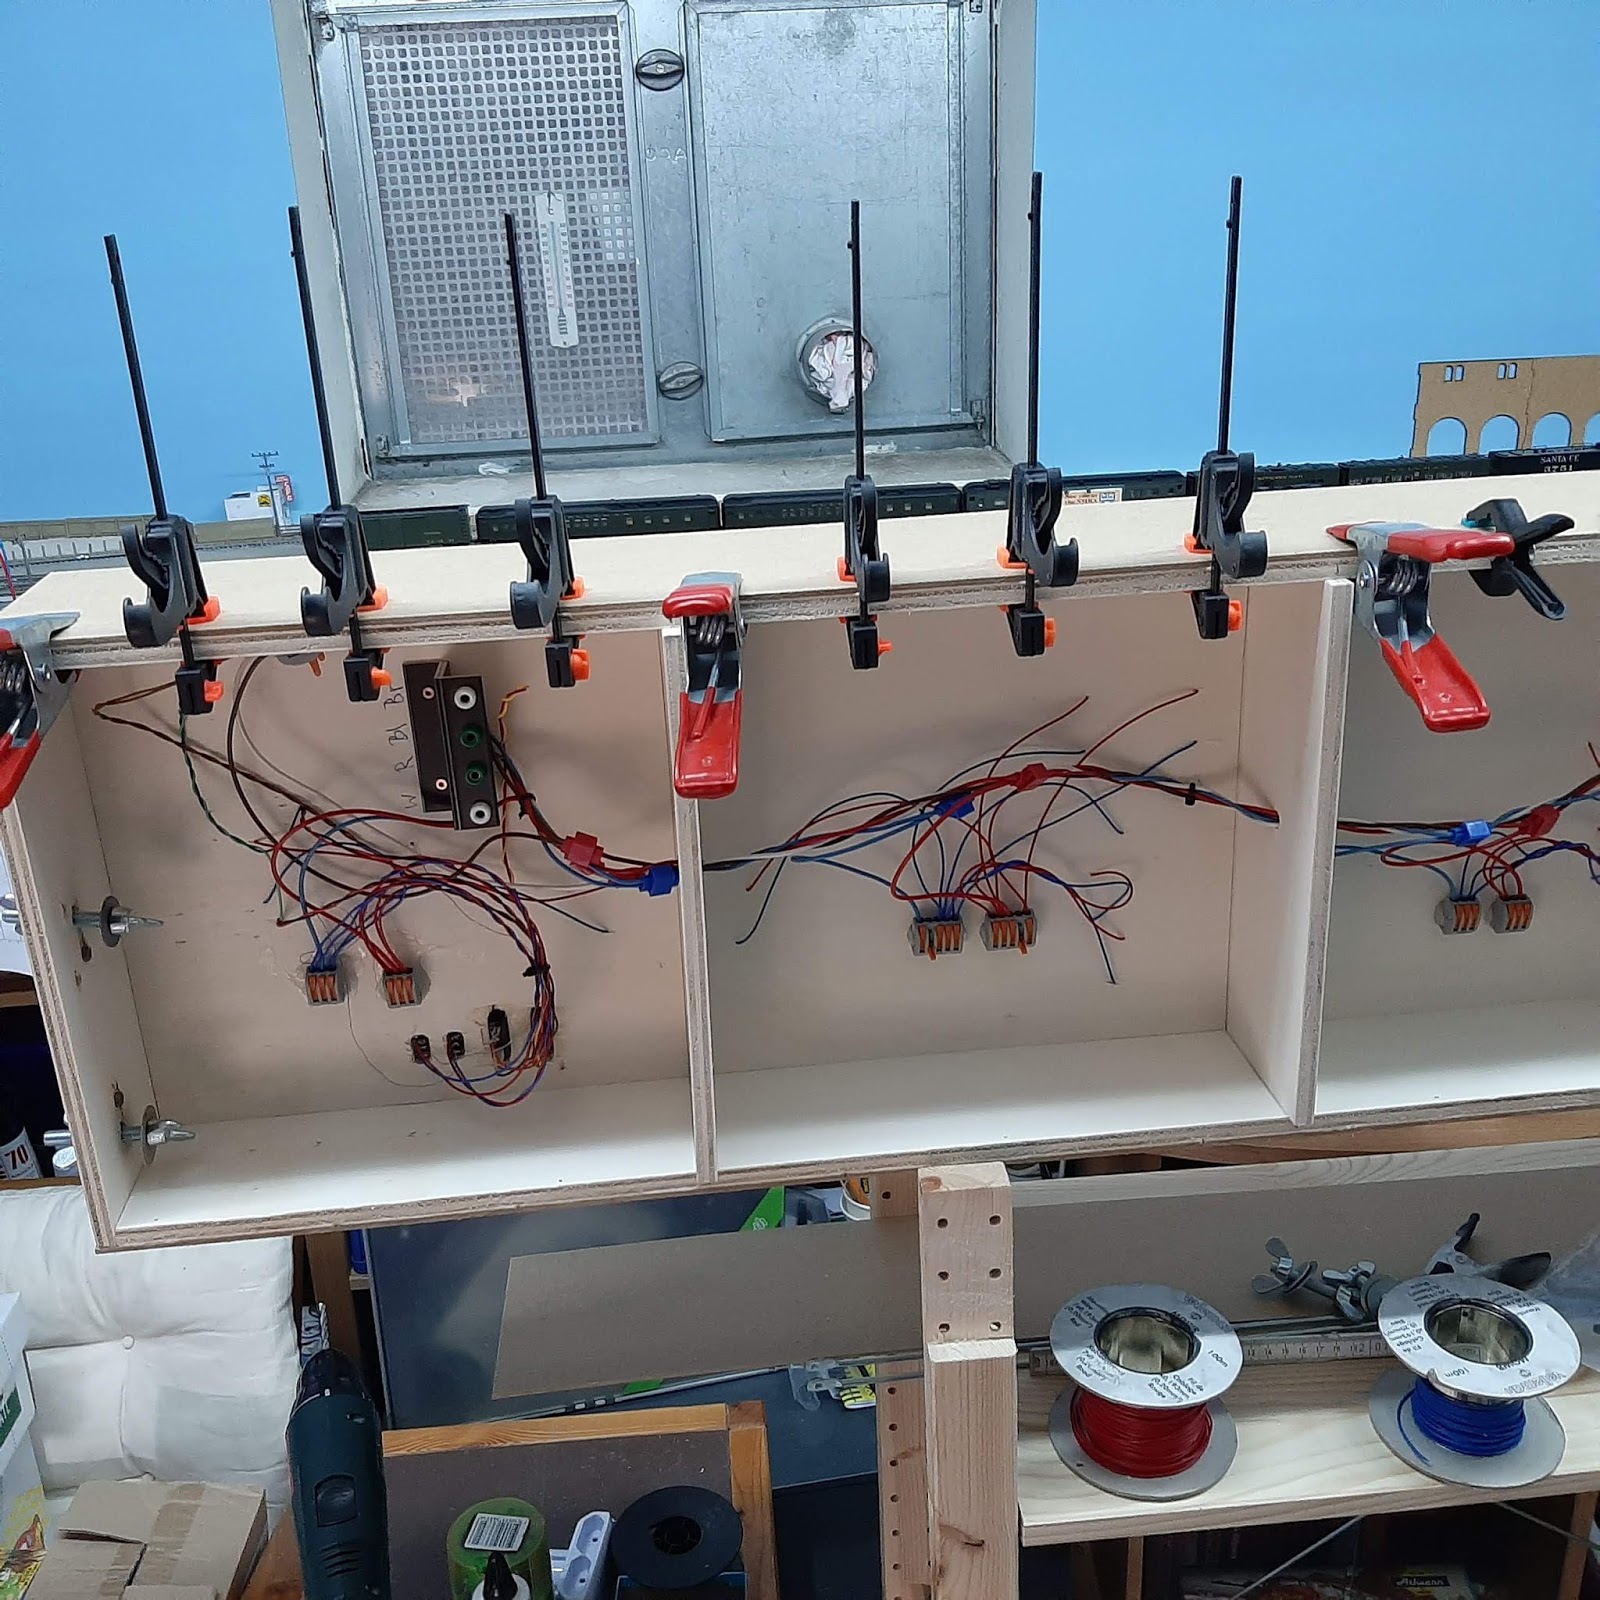
After the wiring was finished, I attached 3mm MDF boards to the sides of the segments. These extend 3cm above the baseboard and prevent rolling stock from falling off the sides. The yard will not be scenicked and its only purpose is to store locomotives and rolling stock on and beside the tracks.

The yard sections rest on a 30 cm deep IVAR shelf from IKEA. The shelf boards give me additional storage space for boxes and stuff needed.


When using the yard as an extension to my switching layout, the original cassettes serves as drill track for a locomotive at the end of the yard. To save space, the 3-way turnouts are located at the edge of the segments, so the cassette is very useful here.

To save on set-up time I installed alignment dowels on all of my segments. To allow multiple configurations I copied the location of the dowels on the cassette to the curve as well as the straight yard sections. Now it's possible to set the layout up in a straight line, as a U or inverted C or as an L, depending on the available space at a show.

With continuous running in mind, I chose to use a 20" radius for the curve. This is tight, I know, but with short switchers and freight cars, the tight radius curve will be no problem.
The new configuration was tested at two shows in December 2019. Some minor issues were corrected and some improvements made and now the layout is ready for the next upcoming shows in 2020 and beyond.

I spent the days between Christmas Dinner and New Year's Eve Dinner to build the third yard segment, which may be inserted in the center of the yard. This, of course in anticipation of the run-around situation for the next show layout.

To avoid tearing up the tracks at the edges of the segments, I always solder the rails to screw heads and cut them later. This makes for a perfect alignment and together with the alignment dowels on the segments I've never had derailment problems.
Stay tuned for more updates.
Super !
ReplyDeleteDanke Martin
ReplyDeleteAwesome blog, very interesting and bookmarked.
ReplyDeleteNice
ReplyDelete