Translate

Monday, April 20, 2015

Clothes Pins into modelers clamps

Here's a short tutorial on how to turn an ordinary wooden clothes pin into a handy flat clamp.


Although this ordinary type of clamp may be used in many situations to hold two parts together, we sometimes need a clamp for a larger, even surface, like when glueing two pieces of styrene sheet together.


First we disassemble the pin. It consists of two shaped wooden parts and one metal spring.


Then we open the spring and insert one wooden part upside down into the spring and slide the second part also reversed under the spring, like seen in the photograph. This is the most difficult part of the assembly because you might brake off one of your finger nails :(


The finished result looks like this. This type of clamp is not opening as wide as the original clothes pin but for holding flat surfaces together it works just fine.


The picture above shows one of its many uses when assembling two or three layered structure parts like billboards or laminated wall sections.

Have fun with my little conversion project. Take care of your fingernails and remember that these clamps will not hold wet clothes on the line for drying anymore. :)

Saturday, February 28, 2015

LVT-4 (Landing Vehicle Tracked) heading for Okinawa


I got inspired by a black and white picture showing an LVT (Landing Vehicle, Tracked) with Marines sitting on the edge of the loading bay of their landing vehicle, heading towards the beaches of Okinawa in 1945.


This is the reference picture for my diorama. USS Tennessee in the background is firing in preparation of the attack.


All kinds of landing craft and tracked vehicles formed an assault wave.


I had this old Airfix kit lying around for some time, waiting to get build. Many dioramas I've seen show landing craft and tanks already on the beach but rarely in the water. It always amazed me how these steel monsters could actually swim in water. So I decided to represent it halfway submerged like on the photograph.

I'll describe in the following tutorial how easy it is to build this small diorama.

The only hardware we need are:

- Some spare pieces of extruded foam
- Blue and white acrylic paints
- Transparent Silicon sealand (the kind you use to seal the shower in your bath)
- Balsa wood 
- plastic spoon
- and of cours the model you want to use


I cut two extruded foam rectangles and outlined the footprint of the LVT on one. Then I cut the recess out and glued the two pieces together with liquid nails. After drying I painted the upper surface with sky blue acrylic paint.


Then I lined the foam with four strips cut from a sheet of balsa wood.


Then I masked the frame with masking tape and painted a lighter shade of blue to where the waves and trailing foam behind the landing craft would be.


For the water surface I squeezed a couple of silicon beads to the surface and smoothed it with the plastic spoon. I dabbed the surface to recreate the small waves.


After the spoon treatment the surface looks like this.


After the initial coat has dried I applied thicker beads around the recess where the water bulges as the vehicles moves forward.


When the silicon had dried over night I placed the LVT with a couple of sitting tank riders in the recess to check how it looked.


Then came the point of no return. Permanently embedding the LVT into the scenery with more sealant added against the model


Now I added Woodland Scenics Water Effects to the rear and on the tracks


It took almost two days for the Water Effects to dry completely transparent. I highlighted the tops of the waves by drybrushing with white acrylic paint.


I removed the masking tape and painted the frame of the diorama with black acrylic paint.


As mentioned above, I used American Tank Riders from HäT, because no other sets contain sitting soldiers at ease and not pointing or shooting at something. On many photographs the Marines only had camouflaged helmet covers and their green fatigues instead of camouflaged. So I also painted only the helmet covers camouflaged. I used Woodland Scenics Accent Glue to attach the figures to the LVT.


The finished scene looks like this.


Some more shots from all sides


I assume that this LVT belongs to a later wave, after the beachhead was already secured. I never saw Jeeps arriving in the first assault wave. This explains also the Marines sitting on the edges instead of ducking in the bay of the landing craft.

Monday, December 15, 2014

Art Deco Billboard

While searching the internet I found another Billboard in the Art Deco Style. A definition with examples of Art Deco can be found HERE and on Wikipedia.


It appears that this billboard is visible from both sides


I designed it with one center piece of 1.5mm MDF and the trim for both sides from 1mm MDF. Again this kit yields 2 additional small spare billboards.


I painted it off white and used toothpicks for the legs.


On the reverse side I attached a picture of old faded and torn down ads.

Both styles will be available for purchase soon. Stay tuned and watch for details.


Art Deco Billboards part 2

I'm a great fan of billboards because they really set the era or time frame. When I found a picture of an Art Deco billboard that looked like a TV I decided to model a similar one.


After figuring out the different steps in how to assemble such a billboard I again made a CAD drawing and got it laser-cut from my friend.


I designed the billboard in 3 layers on 1mm MDF (Medium Density Fibreboard)


With the tip of my hobby knife I pricked the holes of the "speaker" out.


Then I glued the "knobs" on the engraved spots.


Finally I glued and clamped the 3 layers together.


I painted the billboard with a brown color and glued a billboard ad from the 1940's era into the frame.
You'll find tons of advertisements on the internet. Most are jpeg's and with a little scaling on the computer they can be printed out on a normal printer.


After I had assembled the Art Deco Billboard I thought about what I could do with the leftovers. The panels that had been discarded from the frames give a neat rectangular billboard.


For the new frame I salvaged the small strips from the carrier sheet, which are a scale 6" wide


With my NWSL chopper I cut the strips at a 45° angle.


Then I glued the frame around the edge and voilà, a spare billboard from scrap pieces.


I painted the billboards dark green and applied period appropriate ads.


Now I need to build some legs or probably attach them to the side of a building.

This Art Deco Billboard will be available soon. Watch for details.


Adobe structures

Adobe is the Spanish word for mud brick, a natural building material made from sand, clay, water, and some kind of fibrous or organic material (sticks, straw, and/or manure), usually shaped into bricks using molds and dried in the sun. Adobe buildings are similar to cob and rammed earth buildings, but cob and rammed earth are directly made into walls rather than bricks. These bricks were used to make pueblos in New Mexico. The Anasazi, Hopi, and Zuni peoples used this. (Source Wikipedia)
 
(Adobe house near Las Cruces, NM 1936)

Since modeling the Southwestern part of the United States I quickly realized that many of my structures needed to be build in this style.

Adobe had been in use by indigenous peoples of the Americas in the Southwestern United States, Mesoamerica, and the Andean region of South America for several thousand years. The Pueblo people built their adobe structures with handfuls or basketfuls of adobe, until the Spanish introduced them to the making of bricks. Adobe brickmaking was used in Spain starting in the eighth century B.C. The Spanish Conquistadores also left their trace all along the California Coast with numerous missions and stucco buildings. (Source Wikipedia)

From old photographs and visits to different pueblos in New Mexico and Arizona I tried to catch the look of these structures in miniature. There are only a few models of adobe buildings available, so scratch building is the way to go here. I'm already used to it from my home layout, set in Southern California.

For a new project layout in HOn3 I plan to build a street scene set somewhere in the Southwestern US, near the mexican border. The track will be running through the street. Here are a couple of finished structures so far.


Garcia's Garage will feature a detailed workshop and outside junkyard.


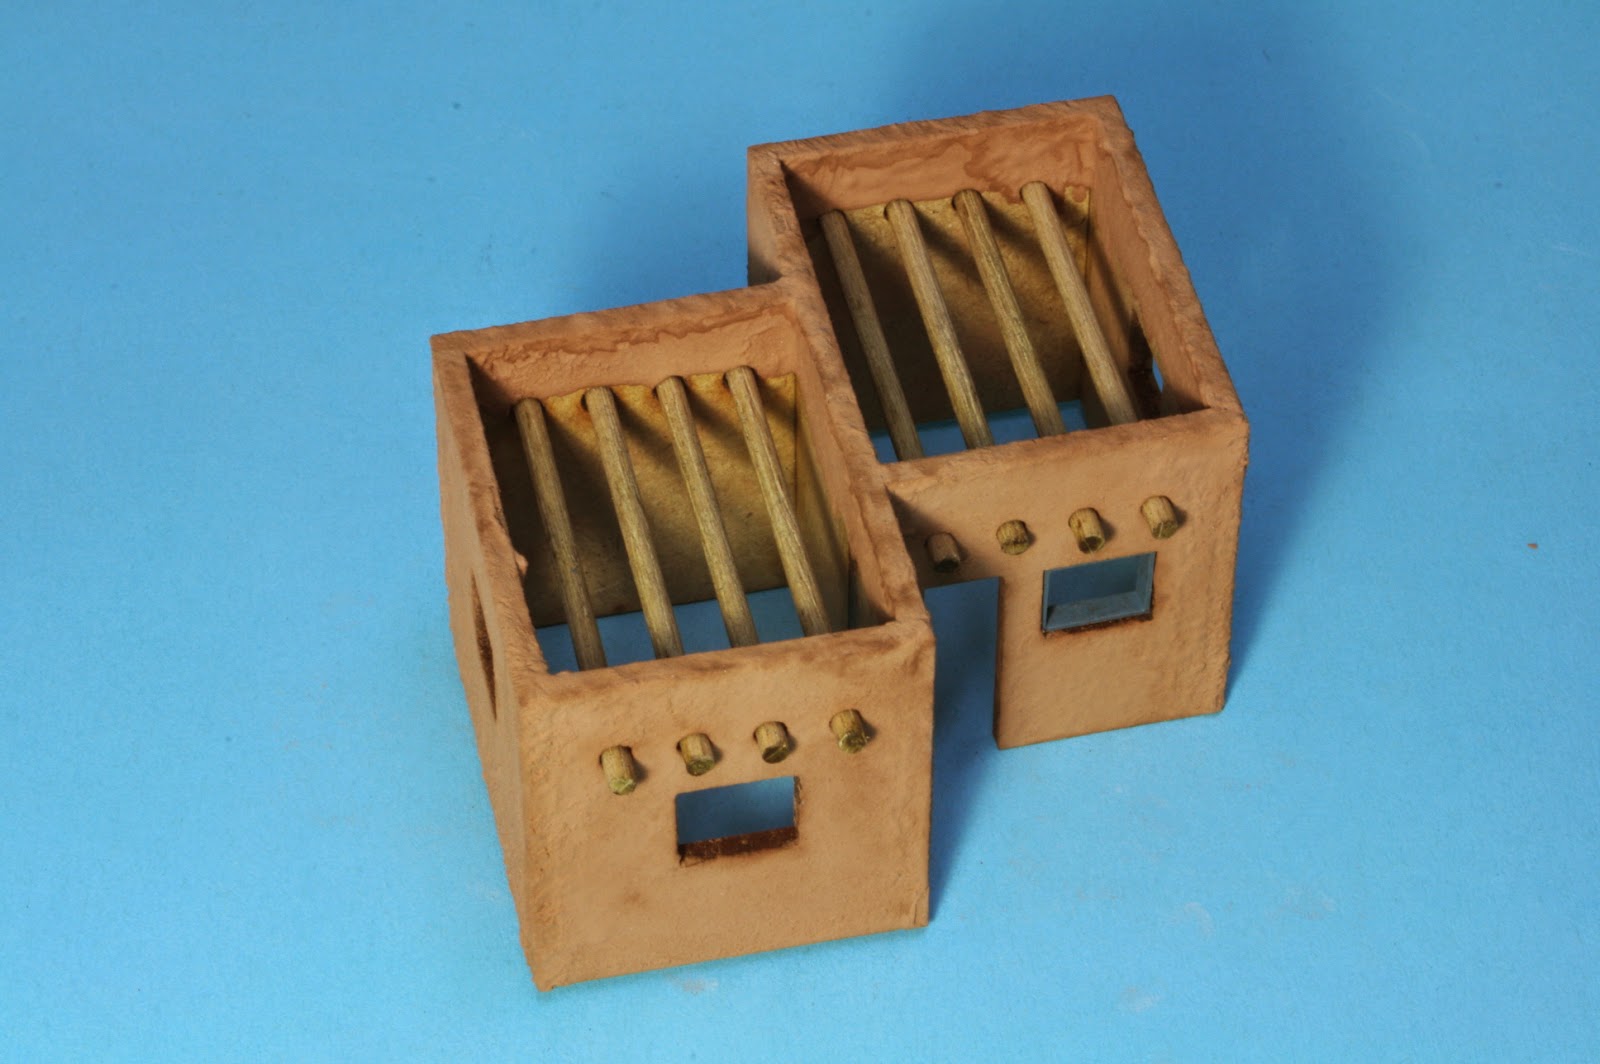
The CasaAdobe above represents a small 2-room house.


The Barber Shop is also a small 1-room business.


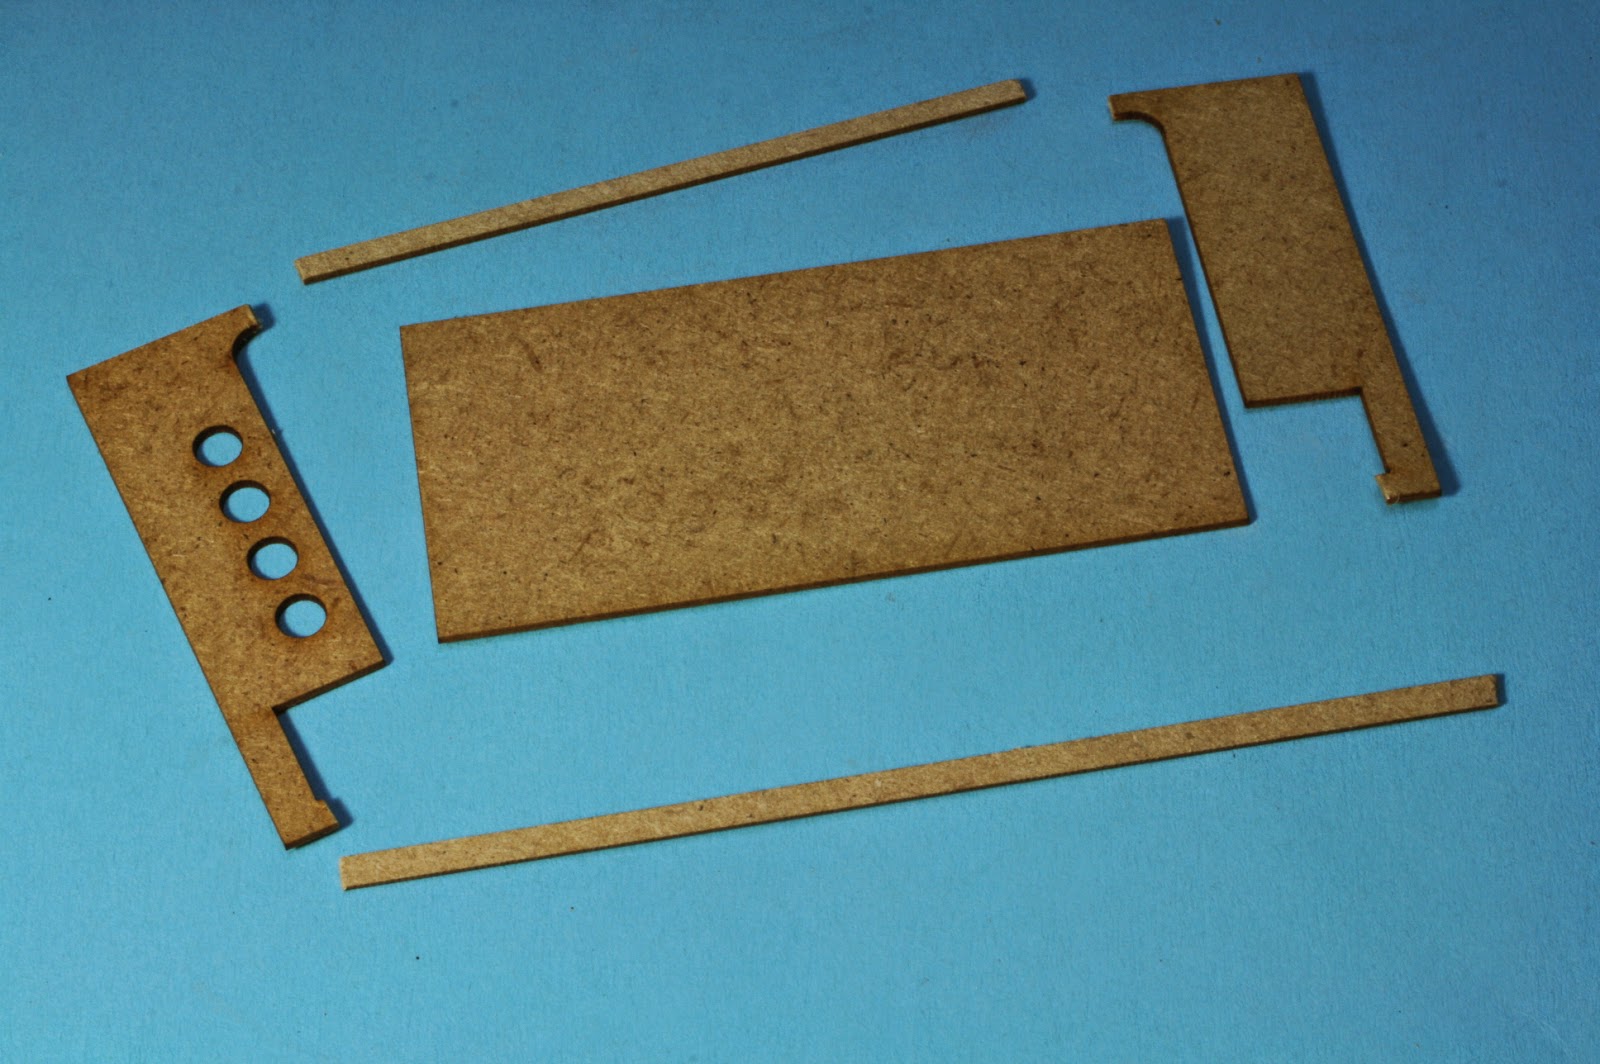
To simplify things I used Corel Draw to draw an adobe house and a friend cut it out on his laser cutter. I tried a new method to cover the walls with grout to represent adobe or even stucco if used in a lighter color and painted.


To do so I painted the walls with a coat of white glue and then sifted the grout over it. Because most of the grout did not stick to the walls and there were still some bare spots, I covered the walls again and wetted them with a spray bottle. This worked out satisfactorily.


After the walls had dried completely I assembled the building.


As you can see now the tabs and slots are still visible.


I mixed a batch of grout with a little wet water and white glue and painted the edges and the inner walls on the roof.


It ended up with a different shade so I decided to dab the whole structure with the new mix.


I inserted the vigas and glued the roofs in place.


 As you can see the grout dries very mat like the real thing. I guess I could not top it with just painting and weathering the walls.